Outside View

Outside View
The Exterior View of New Orleans Townhouse

Saturday, July 13, 2019

"Sunflower House" aka Victoria's Farmhouse


My design influence came from my two favorite houses created by Robin Carey, "The Glenview Drive Blue Victorian Dollhouse" and The Darling House. I combined everything I liked about them and some ideas of my own. On the first, I love the color scheme, the yellow of the sunflowers and all the trim on the second.

I found this color guide with all the right colors plus a picture of a sunflower. I knew it was on the right track!

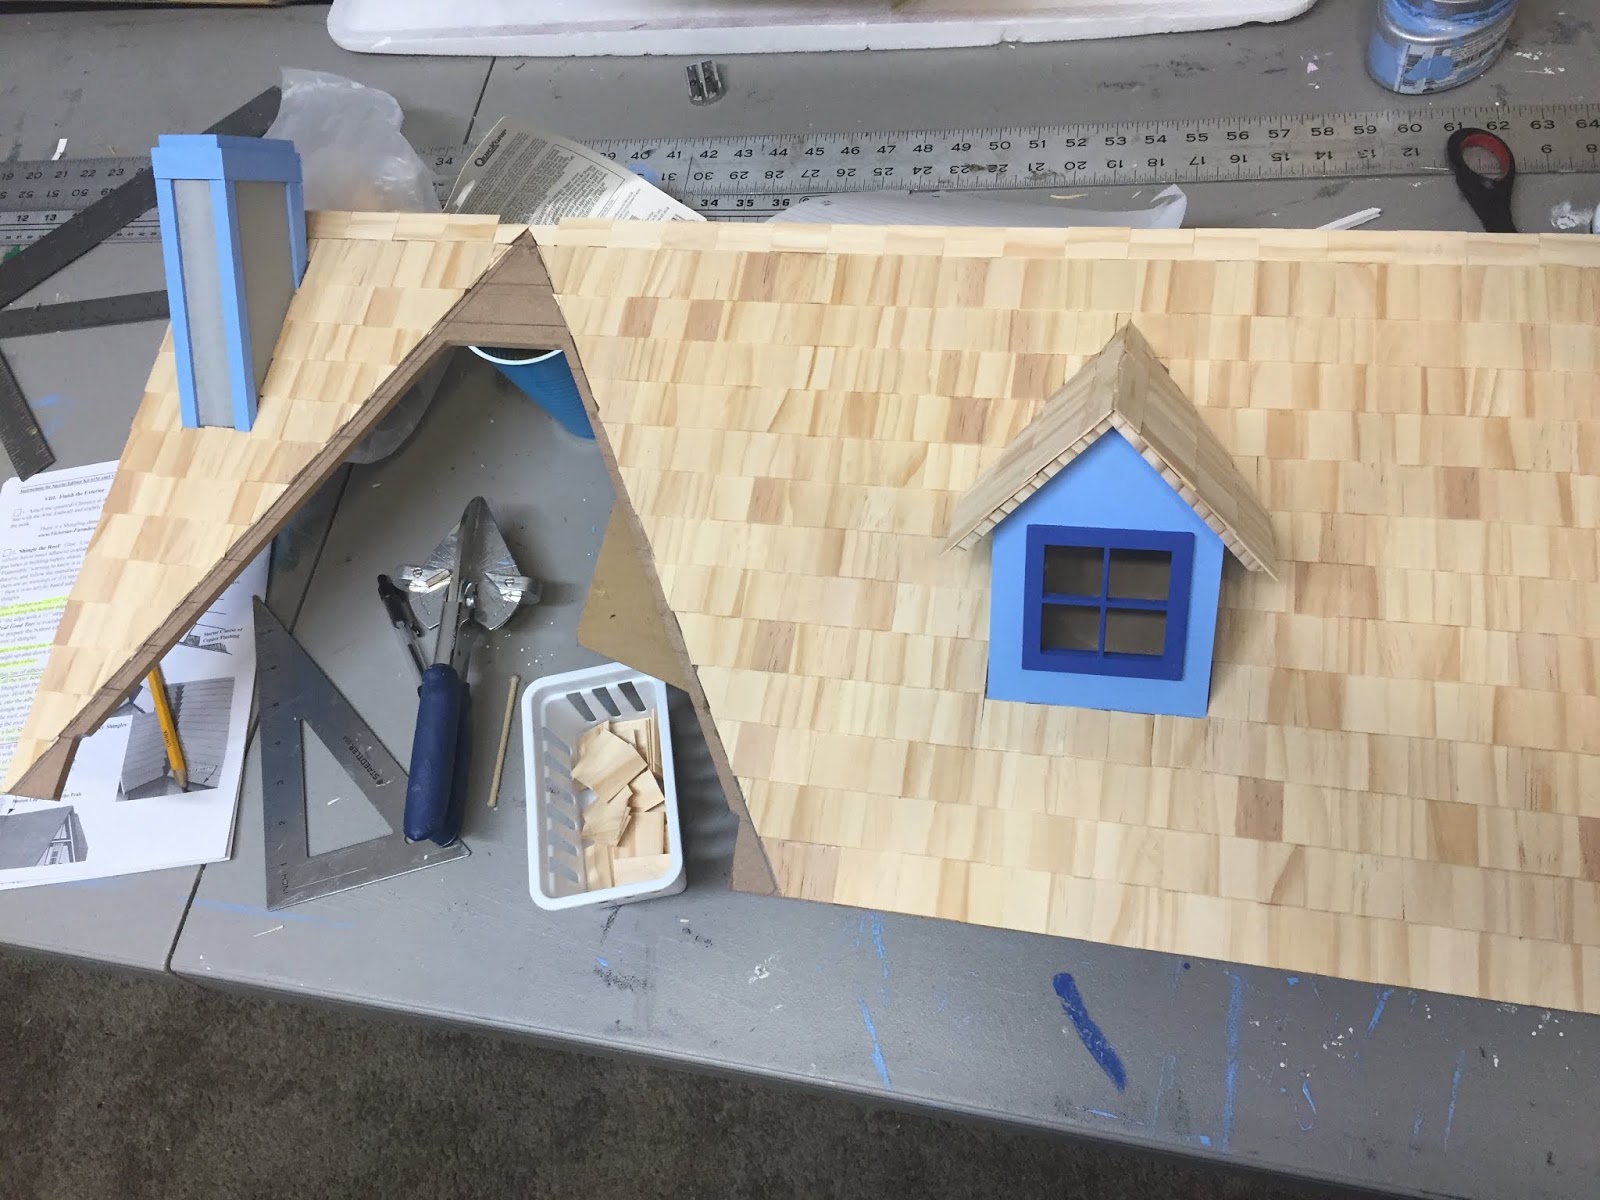
The major changes I did to the kit were to add a screen porch and change the rails, rearrange the location of the walls and doors. I left off the shutters and false eaves on the dormer because I wanted  the trim to be the focus against the clean lines of the house. I showed a little distress on painting the porch, trim and weathering the roof.


 I used yellow as an accent color in the outdoor furniture.


I incorporated the sunflowers in the windows and doors. I took pictures from the internet and used Photoshop to create the look of stain glass. I then printed decals and placed them on the doors and windows.


Windows and doors are not permanently attached to make it easy to paper the walls


I lost the original hinges, so I replaced them with these from Hobby Lobby on the access door. I think they support the door better.


Friday, June 28, 2019

Painted Shingle Farmhouse Roof


This was only the second time that I have installed wood shingles on a house. The first time was 35 years ago with a hot glue gun, it was just awful! I was less experienced and didn't know any better. I was so disappointed that I stopped miniatures/dollhouses altogether for years.

I used Quick Grip Glue this time:) and I decided to paint instead of stain. I was going for a weathered look. I have not used shingle dye before and I wasn't sure it would give me the effect I wanted. I can fix any mistakes better with paint.

I used Americana Decor Chalky Finish in "Artifact" which is a medium gray, as my base color. I used FolkArt Home Decor Chalk for shading-Maui Sand, Castle, for highlights Parisian Gray and Spanish Moss-for a little moss effect.

I am sure most of you know how to shingle, so this is really for me and anyone else who is intimidated by shingles. (So I will know what I did good or bad in the future). 

I decided to shingle my roof unassembled and flat. I felt I could see my mistakes better and I could paint without worrying about the house underneath.

I drew the lines according to the directions; I used a whole shingle for the first starter row and added an inch in-between lines.


I painted and glued the chimney and dormer window I bought to the roof.

I glued the gable together only.

Once dry, I reassembled the roof with tape and placed it back onto the house. The attic ends were already permanently attached to the house for support.

I drew the outline of the gable roof on the front roof, so I could see what area not to put shingles.

I started the process of shingling and trimming shingles along the gable outline as I went row by row. Once I had finished the shingles, I started painting the roof after 24 hrs just to make sure it was set.


I will glue the parts roof together to the house after the paint is dry to avoid any excess glue getting on the shingles and interfering with painting.

I went back and touched up a few areas once it dried

On a little side note this is my new favorite, Bench Circular Saw. 
I have a large table saw in the garage but it is not safe to cut these small parts. I developed tendinitis in my wrist from cutting small parts for the porch and beds by hand. I knew there had to be a better way. I found this on Amazon and after the first couple of cuts it had me at "Hello".  The cuts are so straight and precise, love it.


Saturday, June 22, 2019

Peter Rabbit Themed Nursery


I have always loved the illustrations in Beatrix Potter's Peter Rabbit. 
When I found the furniture pieces in MyMiniatureWorldShop on Etsy, I knew I had found the theme for the farmhouse nursery.


 I made a second youth bed in the same style as the crib I created. I then painted the crib and youth bed to match the other furniture.

I found this cute bedding for the room in creativecraftsforU on Etsy.


I bought a cheap 1 inch foam seat cushion from Walmart and made mattresses by cutting cushions to size. Then covered them in matching blue fabric.


Sunday, June 16, 2019

Farmhouse Screen Porch

I love screened porches! When I bought the Victorian Farmhouse, I knew it was my chance to add one. I looked at a lot of pictures of screen porches to see how they were made. I basically made a frame with a floor. Nothing is permanently attached to the house yet, I'm still in mockup stage.


I purchased the screen door and built the frame around it. I made it to sit on top of the porch, so I could slide it out, in case I changed my mind. I left the back open to the rear of the house for access. 

I started with a piece of craft wood for my floor and cut it to fit the porch. I used square wood dowels and a porch post to form the frame and ready-made porch railing at the bottom. I added unfinished wood flooring to the bottom of the screen porch in the inside. 

I recycled a real life window screen, I cut down to size and used screen it to cover the mini screen porch. (The screen is left unattached until I paint the porch.) I used porch posts, square dowels and thin unfinished wood picture frames for decorative trim on the rest of the lower porch. 


I also finally got a chance to use the porch swing I've had for years, I used mini hooks and screwed it into a beam. 


On the second story porch, I replaced the original railings with ones I ordered from Real Good Toys and newel posts. I cut and used the original kit posts and added large furniture buttons, finial caps and small squares to the tops and bottoms.

P.S. Can someone tell me why I can no longer make comments or replies to my blog or anyone else's under my google account??????

Or see the pins made from my blog in Stats???????

Friday, June 14, 2019

DIY Farmhouse Beds


I made the beds but I purchased the bedding. These are double beds, the attic bedroom is large enough for both. I used wood filler for any gaps, then I stained each bed. I also bought unfinished chests and night tables from Dollar Tree and stained those. It stained unevenly but I felt it worked with my homespun furniture concept.


To begin, I cut square dowels to the desired length and cut notches in them to fit more securely around the bed corners. The I cut wood strips and mounted them on along three sides of the bed. 


I left the headboard off the second bed because of dormer's height in the room

For the head board, I used wood doll pins and cut them in half for bed posts. Afterwards I applied some small unfinished wood appliqués and letter for child's initial.


 I cut the flat base and head board of the bed from craft wood.


I used cheap foam seat covers for the mattresses and cover them with brown fabric. 


Then I dressed the bed with sets I bought at WendyDollhouse on Etsy.


I also bought a lovely red toile design for another purchased bed. I really love her work. I hope to redress all my beds one day.